Quickstart — your first capture
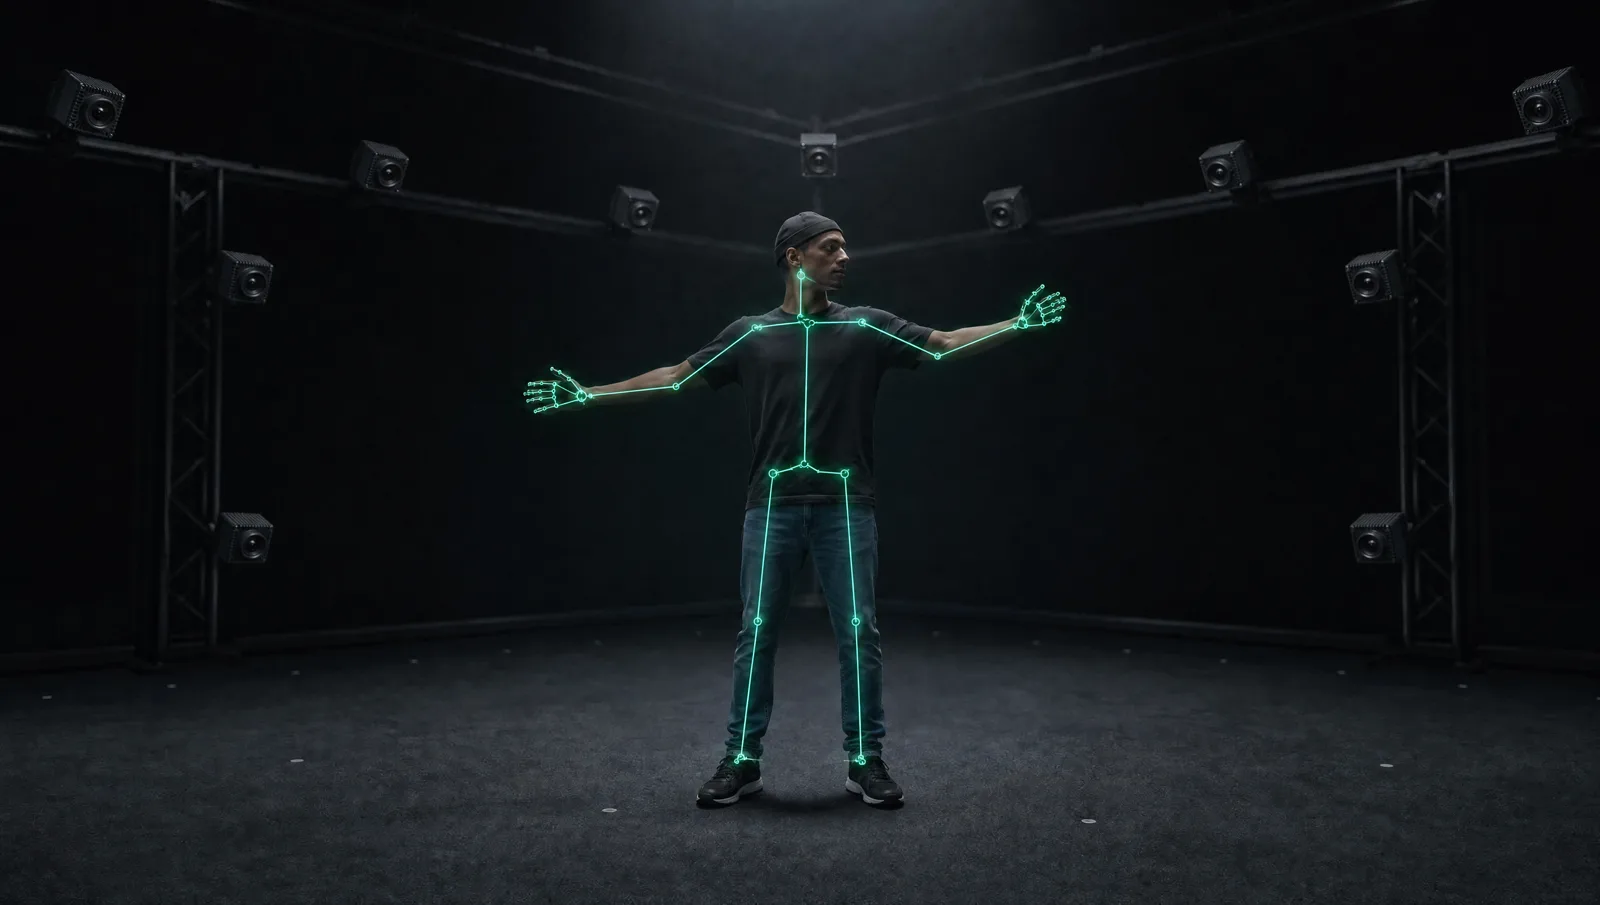
From a running AR 51 system to a recorded motion exported as an FBX, in about 15 minutes.
This quickstart assumes a running system — the CV server and Mocap Studio installed, cameras mounted, everything on the same network. Setting up for the first time? Do these first, then come back:
You'll also want a 3D program that opens FBX (e.g. Blender or Maya).
1. Confirm the system is connected
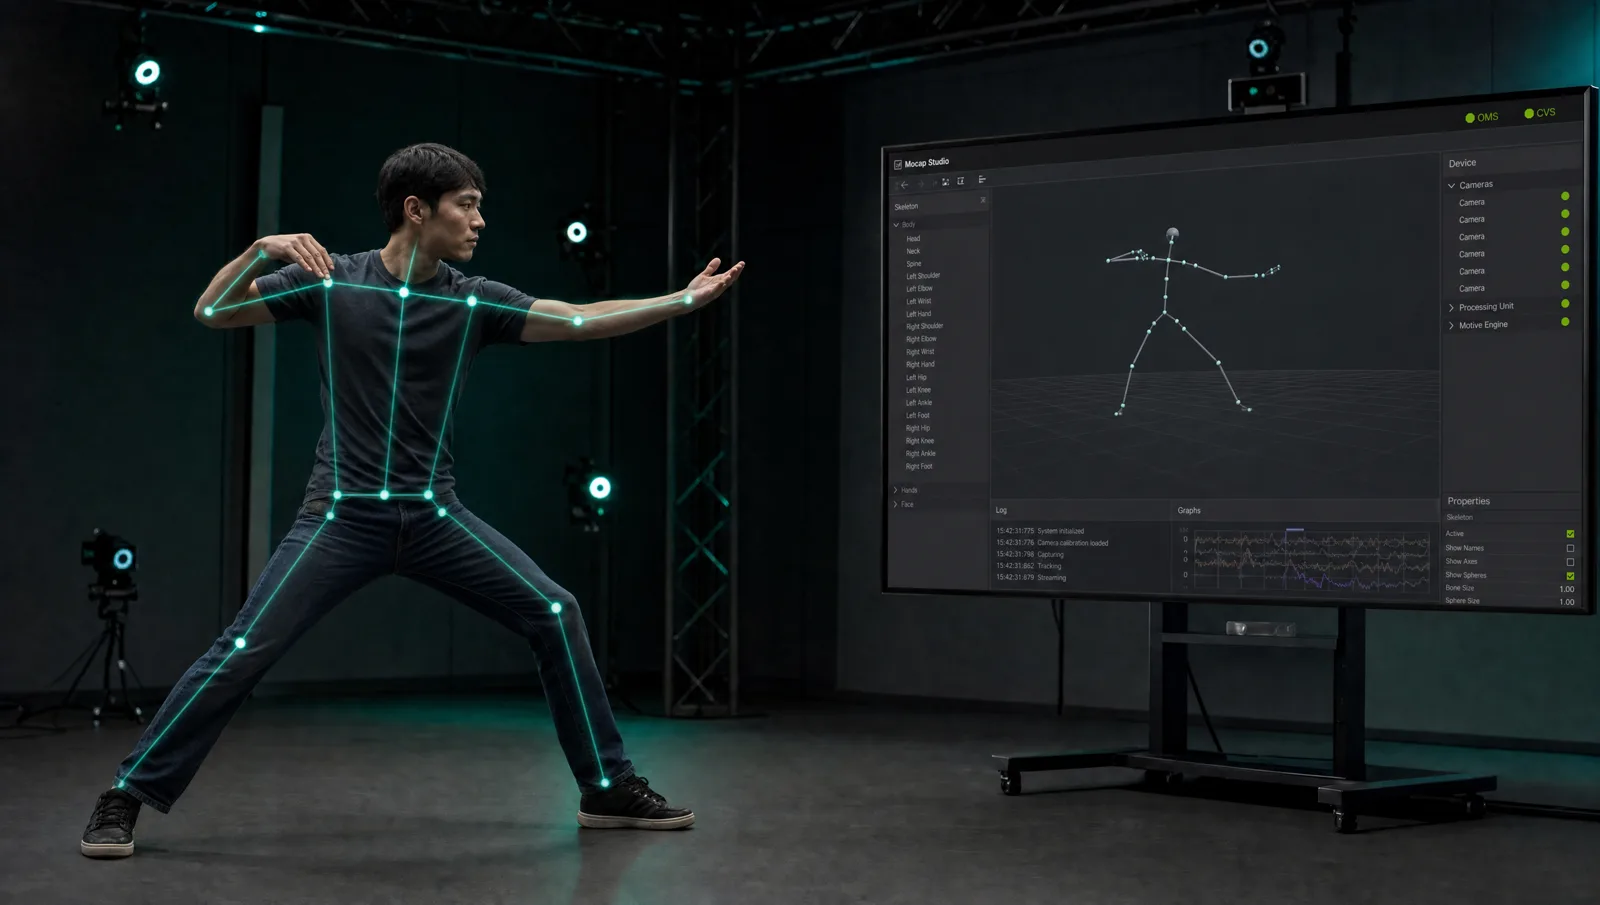
Open Mocap Studio. In the top-right corner, the OMS and CVS indicators should both be green — that means the management service and the vision service are found on your network.
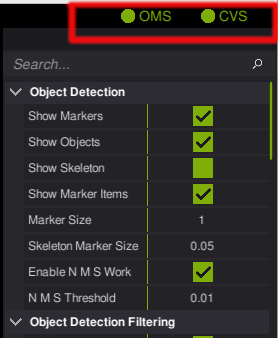
Both indicators green = the system is connected and running. If CVS stays grey, see Troubleshooting → connectivity.
2. Calibrate the cameras
Calibration aligns every camera to a shared coordinate space — do it once per room (or any time a camera moves).
- Place the calibration checkerboard flat at the center of the capture area.
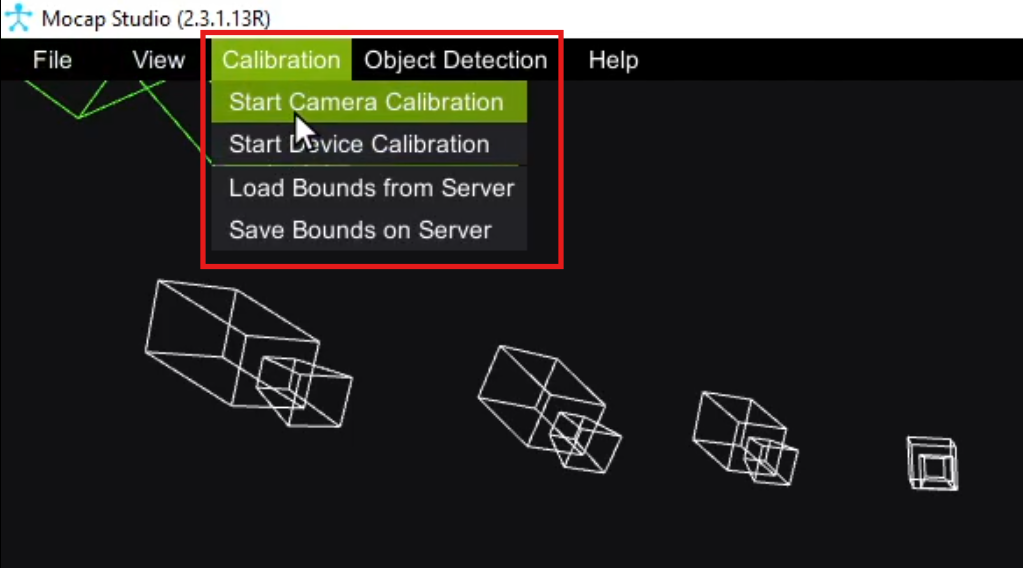
- Start camera calibration in the server.
- Move the calibration sphere slowly through the whole volume, covering different heights and angles.
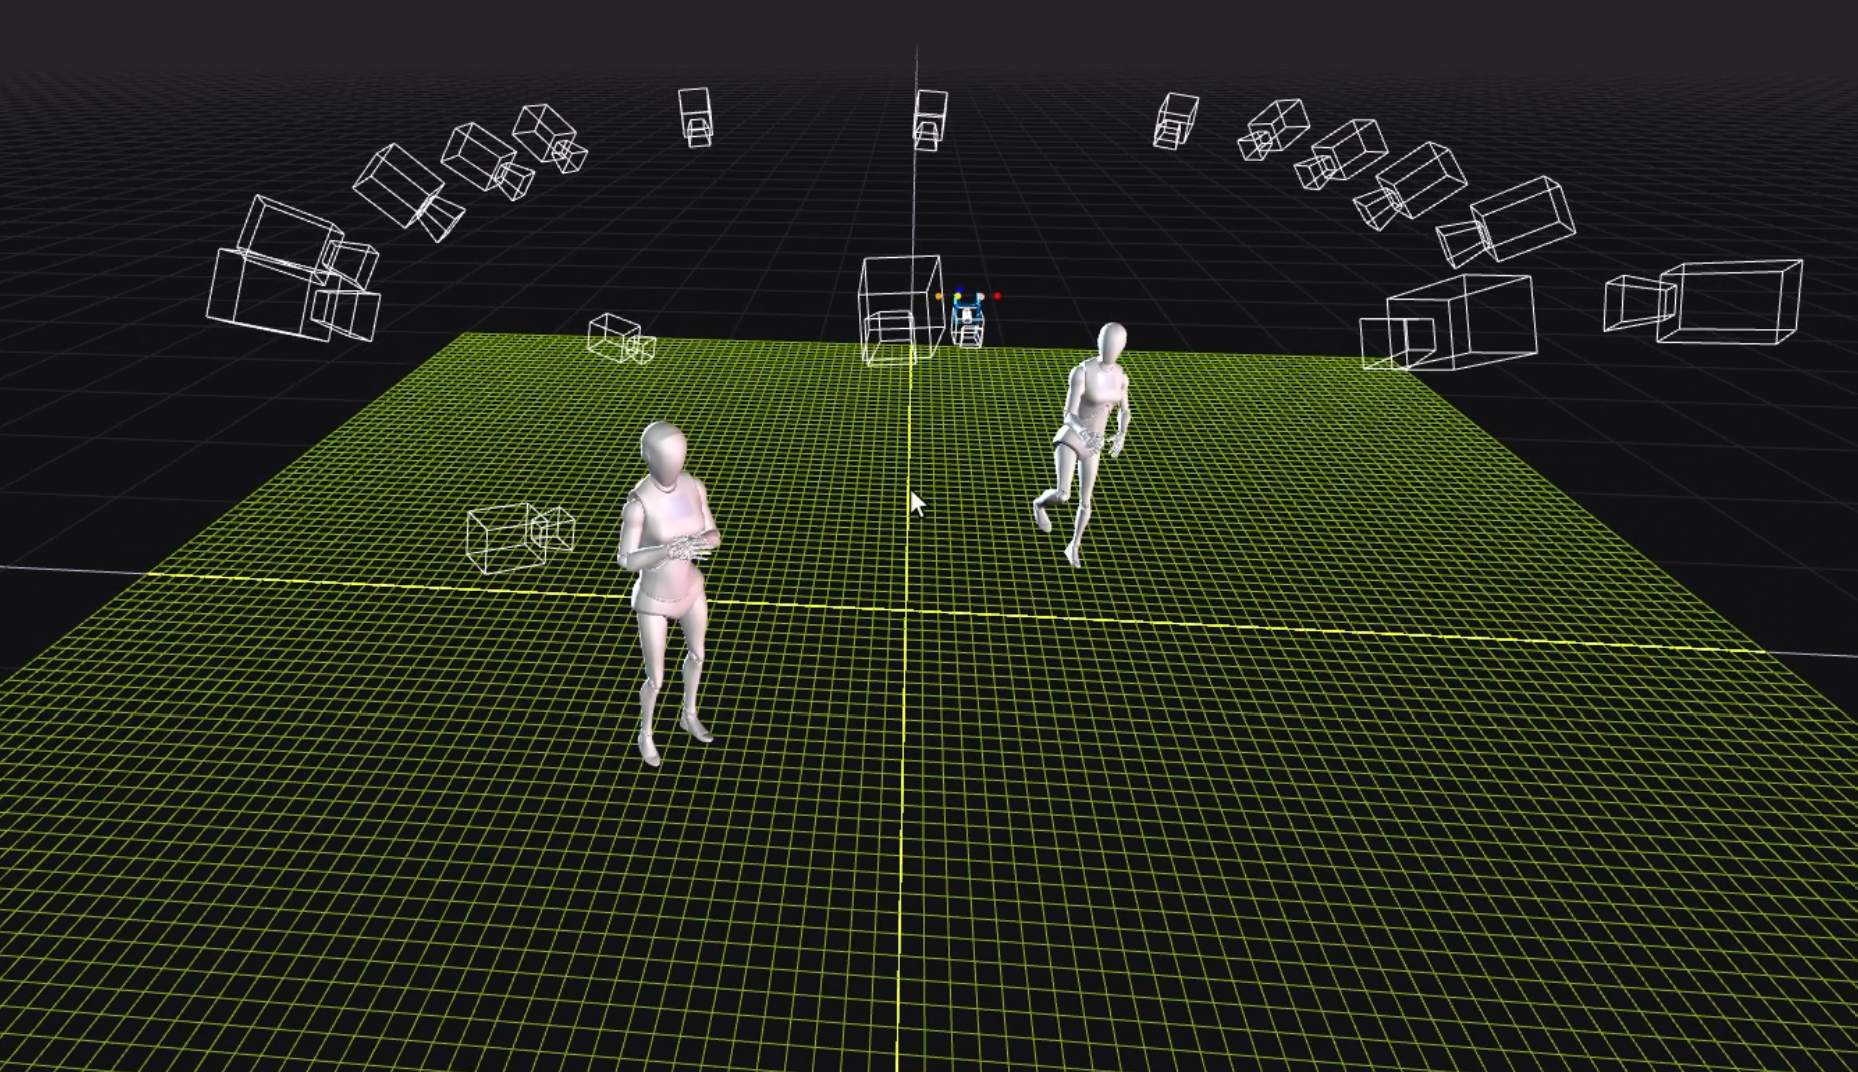
You're aiming for a high calibration quality, with the cameras aligned in the 3D view.
Full details, tips, and edge cases → Camera calibration.
3. Record a take
- Stand up and walk into camera range — your character appears on screen.
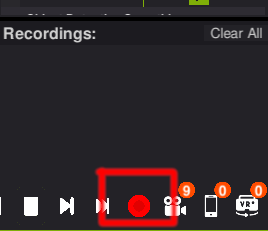
- Click Record and perform a short motion (a few steps is enough for a first test).
- Click Record again to stop. The take appears in the Captures list.
Prefer to watch it end-to-end? Here's the full recording → export walkthrough:
Full details → Recording an FBX.
4. Export as FBX
Select your capture, click Export, choose a folder, and pick FBX as the format.

5. Open it in your 3D tool
The FBX works in any program that supports the format. Import it (e.g. File → Import → FBX in Blender) — the model arrives with its animation intact.
🎉 That's your first capture — recorded in Mocap Studio and exported as a reusable FBX.
Next: go live in your engine
Instead of exporting a file, you can stream the skeleton live into your game engine and drive characters in real time:
- Unity SDK — import the SDK, drop in the prefab, press Play.
- Unreal SDK — LiveLink, character assignment, RenderStream.
- SDK & API reference — the full data model and services for any client.