Device Calibration
Each VR device initially uses its own coordinate origin. Device calibration aligns those coordinates to the server’s global coordinate system so all clients agree on position and orientation.
Table of contents
- Locate the server IP
- Open the AR51 Management System in a Browser
- Inside VR: Open an application on a device that has the AR51 SDK
- Select your device on the AR51’s web-based management system and start calibration
- Calibrate the device
Locate the server IP
To perform device calibration you need to enter the web-based management system of the server.
You can find the ip on the server’s GUI top left corner. 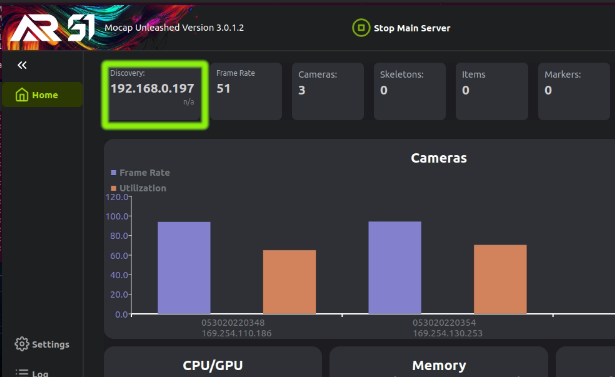
Note that the ip displayed in the image “192.168.0.197” is probably different from yours.
Open the AR51 Management System in a Browser
Enter the IP of the server in your browser. Using the web interface, you can monitor the system and activate the calibration process. 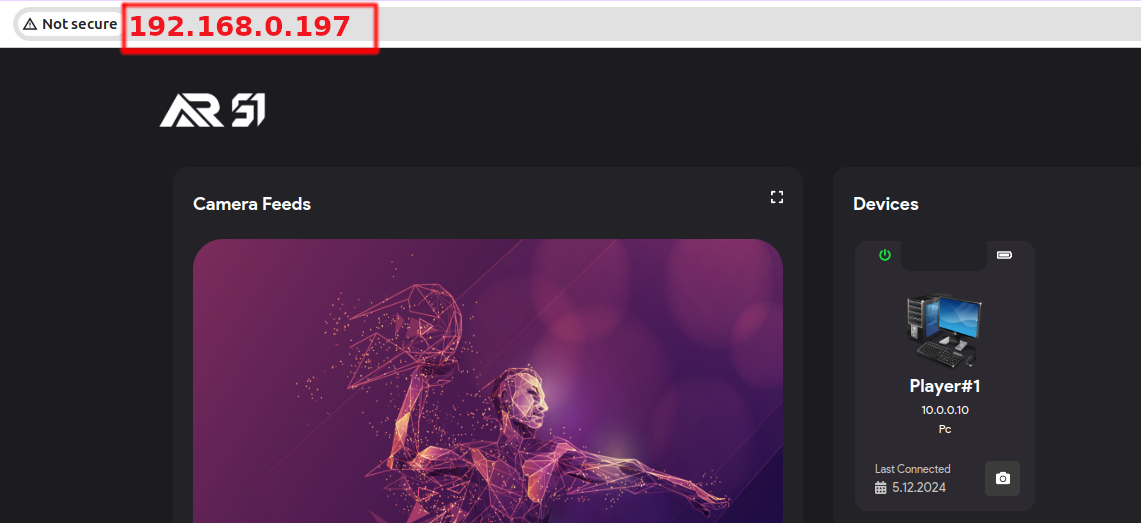
Inside VR: Open an application on a device that has the AR51 SDK
In Oculus Quest, “Developer apps” are usually located under “unknown sources” inside the oculus quest 
Once the app is open on the device, you should see the device on the devices panel.
Select your device on the AR51’s web-based management system and start calibration
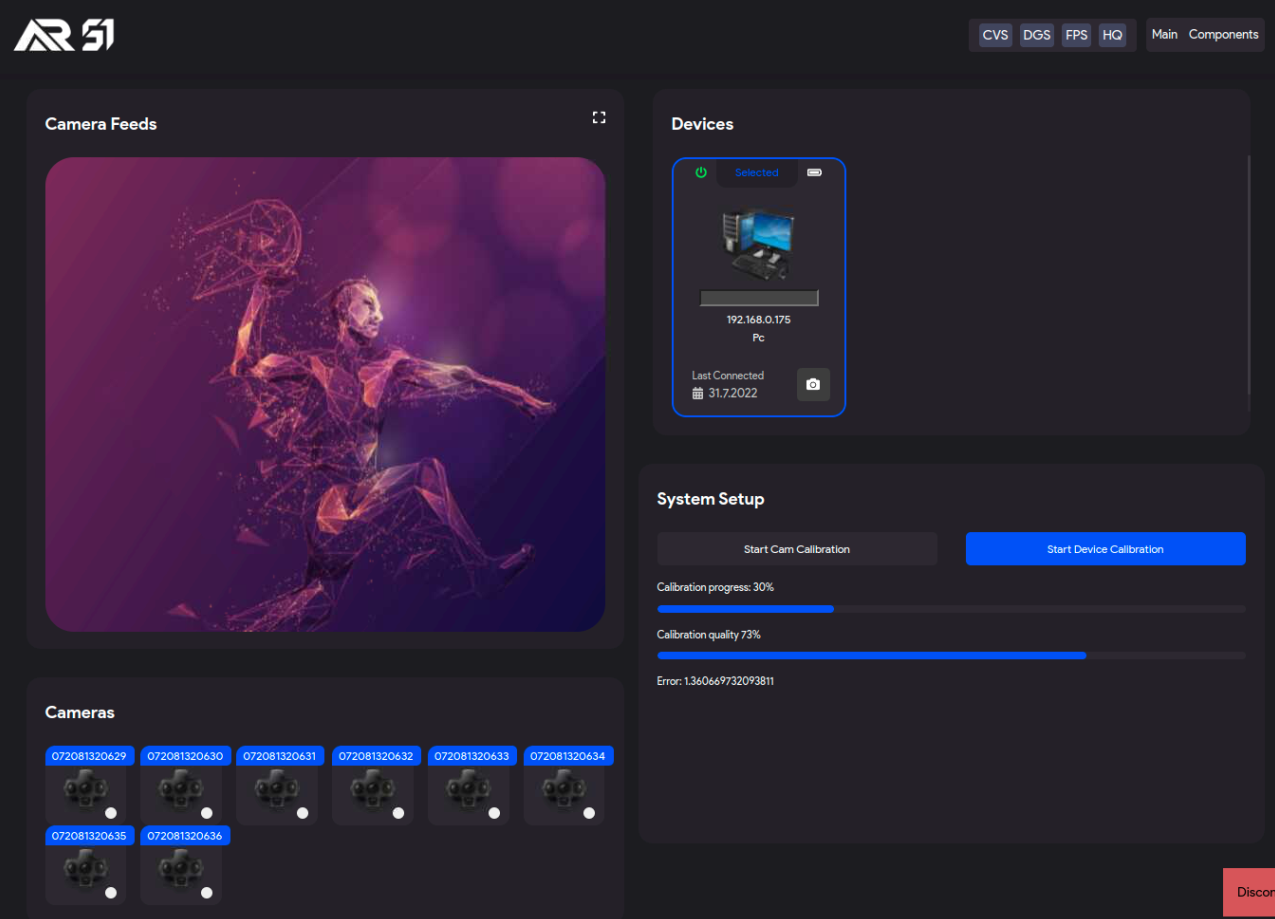
- Select the device you wish to calibrate from the device panel.
- You should see a blue box that indicates that the device was selected.
- Press the “Device Calibration” button in the management system.
Calibrate the device
While in the VR application, lift both your hands so they are fully visible to the device’s cameras
The VR device should see your hands. It is best if your hands are in front, between chest and head high. 
Move slowly across the capture area while moving your hands
Do not wave your hands too fast. Move them at a relaxed speed.
Moving too fast can produce poor calibration quality.
Character should “snap” onto your body (in VR)
You should see the character “snap” into place after a short while. This does not mean the calibration is over. You should still move around the capture area to improve the calibration.