Best Practices for Room Setup
This document contains best-practice instructions regarding how to position the cameras
Table of contents
Pointers
AR51’s Mocap Unleashed system is a multi-camera optical system. As an optical system, the system achieves the best result when the room is well-lit and when the person is not occluded. To extract the correct pose, two cameras are sufficient. However, as more cameras observe a body part, the accuracy increases. This becomes even more critical in challenging scenarios when occlusions occur often (occlusions by another person, self-made occlusions, or by objects).
Best practice
The room should be well-lit with diffused light
The system works best when the room is:
- Well-lit.
- Lit using diffused lighting.
- Spotlighting is minimized.
Spotlighting creates hard shadows and can cause dead areas in the image due to overexposure regions.
A dark room can cause degradation in quality.
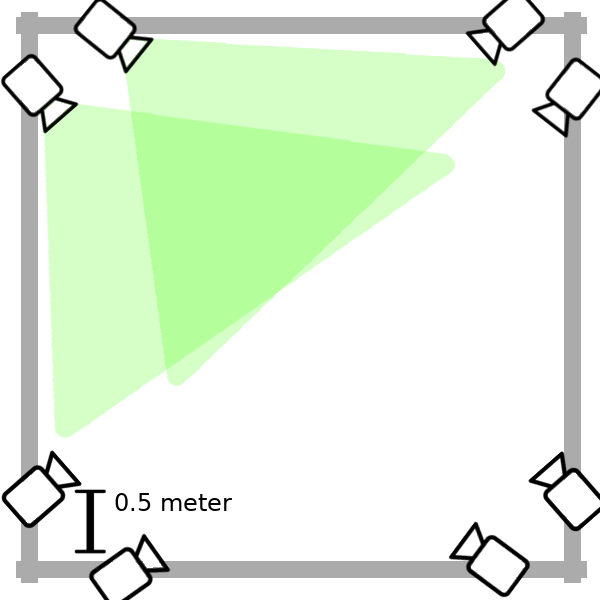
Optimize Coverage in Your Area of Interest
There are no strict rules for camera placement; they can be unevenly distributed in the room. For enhanced accuracy in specific areas, deploy more cameras in those regions.
Recommended setting of a 6x6 space
For a standard system of 6m by 6m (20 feet by 20 feet), we recommend:
- Use 8 cameras placed at heights between 2.5m to 3m.
- Position 2 cameras at each corner.
- Place each camera approximately 0.7 meter from the corner.
Diverse Viewing Angles
- Placing cameras in the same spot offers no benefit. Position them at different locations and angles for better coverage and accuracy. *Lack of diversity in viewing angles can lead to degraded image quality.
A setup with a lack of diversity in viewing angles can cause degradation in quality.
Minimize Dead Space
- Position cameras to avoid capturing excessive ceiling space.
- Avoid pointing cameras directly at the ceiling or floor to minimize dead space.
Placing a camera on the ceiling and pointing it straight down is not recommended.
Reduce camera tilt
- Keep cameras as parallel to the ground as possible to maintain image quality.
Severe camera tilt, even when cameras are placed on a truss or small platform, can result in reduced quality.
Use Live-Feed from OMS to get a feedback
Open the OMS, and press on a camera - this will show a live feed.
Use Live-Feed to tune the position & orientation
You can then position the camera using the live feed. Once you are satisfied with the position and the orientation of the camera, lock the camera grip. 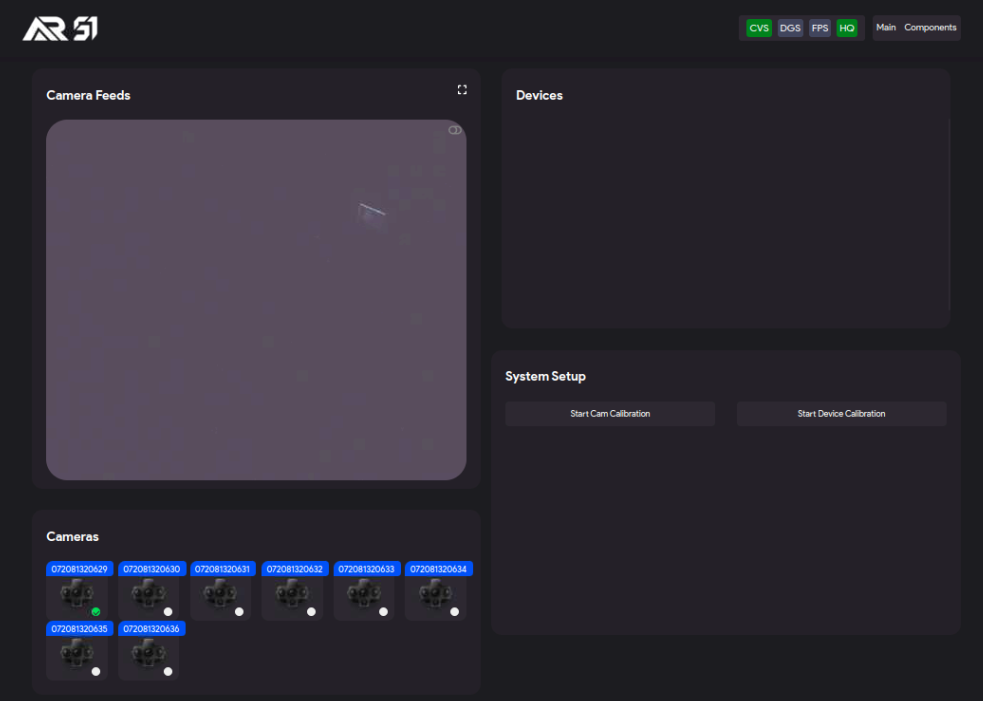
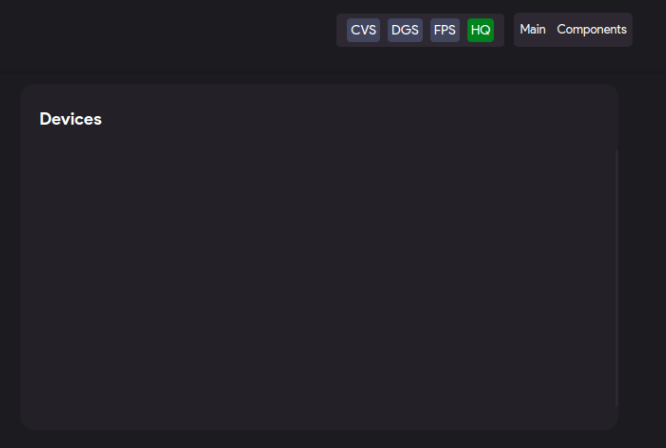
Use the HQ (High Quality) option to view the image in full resolution
To view the image in full resolution, open the OMS and press HQ (top right corner). Then, to open a camera, press on the camera icon in the bottom row. This will show a high-quality live feed (But low fps).
Using HQ mode should only be used for setup purposes. Transmitting the HQ images over the LAN can cause network issues.
The OMS has a web-based interface. This means that you can open it on the go using a smartphone or a tablet. You can use the high-quality feed to tune the focus dial until the image looks sharp.
Tune the focus dial on the cameras
Sharper images result in a better-quality capture. To change the focus of the camera, release the outer-most lock on the camera lens and rotate the dial until the image is sharp.
An out-of-focus image can cause degradation in quality.
