Mocap-Studio - As a System Emulator
Use Mocap-Studio to record the movement of the people inside the scene.
Table of contents
- Introduction
- Prerequisites
- Starting the Mocap Studio Emulator
- Emulator is Active
- Controlling the Emulator
Introduction
This guide provides detailed instructions on how to use the AR-51 Mocap Studio as an Emulator. In this mode of operations, Mocap Studio mimics the behaviour of a live system. This making it perfect for development team to developer their application that interacts with AR51 sdk. The guide covers starting mocap studio, activating OMS and CVS, and loading animation files.
Prerequisites
- Make sure Mocap Studio is installed on a computer.
- Make sure you have a GR51 motion file available running.gr51, clapping.gr51.
- Ensure that the client computer is connected to the same network as the Mocap Studio. When mocap studio is not in the same local network it will fail to communicate with AR51’s mocap server.
Starting the Mocap Studio Emulator
Launch Mocap Studio:
- Open the Mocap Studio application.
- Put the application in full-screen mode for better visibility.
Locate Indicators
On the top right corner, you will see two indicators:
- OMS (Operating Management System): Detects components within the local network.
- CVS (Computer Vision Service): Streams skeleton information and object detection.
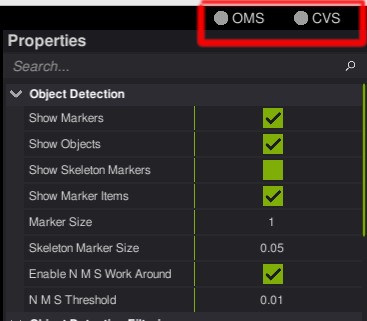
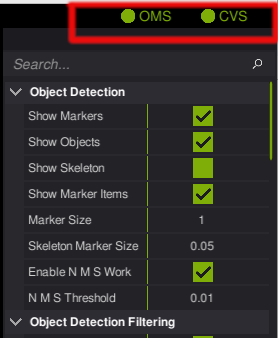
Ensure OMS is Active
- If the OMS indicator is green, it means OMS is already active
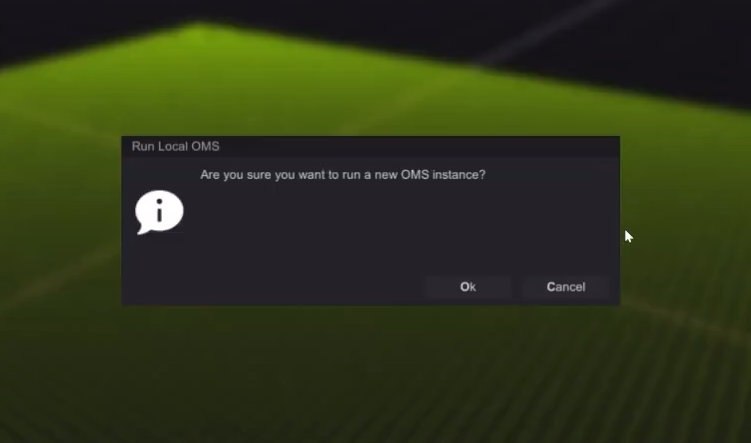
- If it not is gray, double-click the icon. A prompt will notify you to start a new OMS. Select “Yes” to activate it.
Ensure the CVS is Active
- Make sure that the CVS in indicator is gray
- Double-click the CVS icon.
- Confirm by clicking “OK” to start a new CVS instance. If the indicator is already green, this means that another computer is currently the active CVS. You should find the second CVS and close it before activating a new CVS.
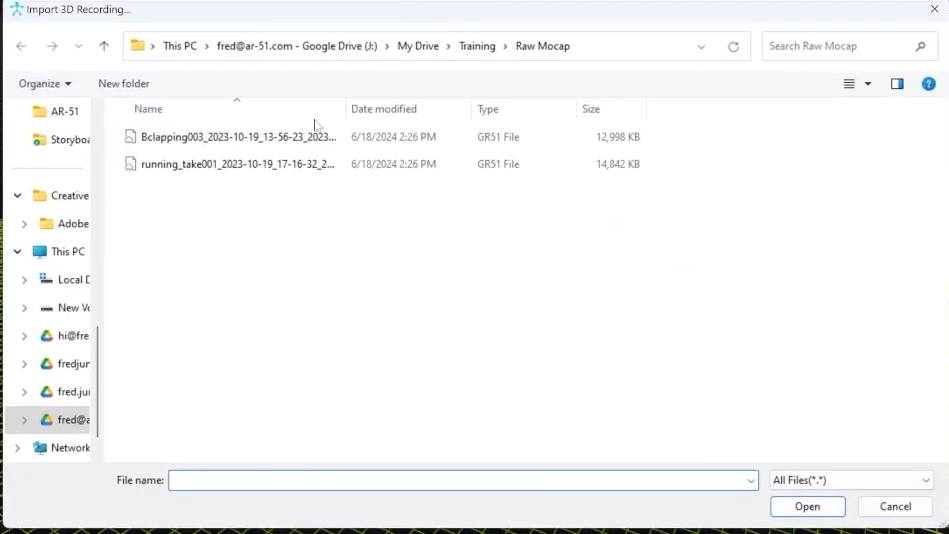
Loading a pre-recorded animation
Open a new Mocap Studio and Load a File:
- Click the file import button.
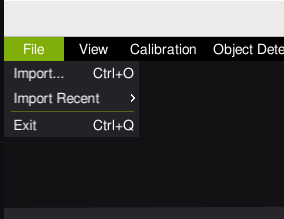
- The system should open a new window.
- Locate your pre-recorded file (*.gr51) and load it.
- You should see a process bar for the loading process
- Once loaded you should see an animation playing inside Mocap Studio
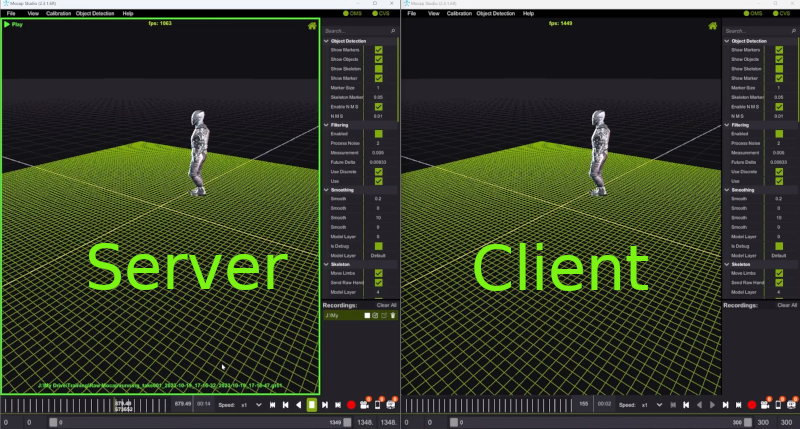
Emulator is Active
Check Status on A Second Client
- At this point “Mocap Studio” is acting as a system emulator.
- At this mode, it is streaming mocap recordings to all other client that are connected to the same local network.
- To view the mocap broadcast, you can use another client.
- The client can be the same machine or a different one.
- Here is a partial list of supported clients:
- Another Mocap Studio
- Unity3D Editor with AR51 SDK.
- A compiled program that was created with Unity and AR51 SDK (i.e. oculus quest sdk)
- Unreal Engine with AR51 SDK.
- A C++ client that is running AR51 SDK.
Controlling the Emulator
Changing the content that is being broadcast
You can choose a different pre-recorded animation to change the content. Note, any change in the emulator’s content is propagated to all other clients in the network.
Scrub Through the Animation
Use the time slider to navigate through the recorded animation.
Recording Panel, Playback and Export
- You can use Mocap-Studio Record function to record a subset of original animation file.
- After you recorded the original gr51 again you should see a second animation on the animation panel
- This new animation should have the export icon enabled (not grayed out).
- You can press on the export icon to export the animation.