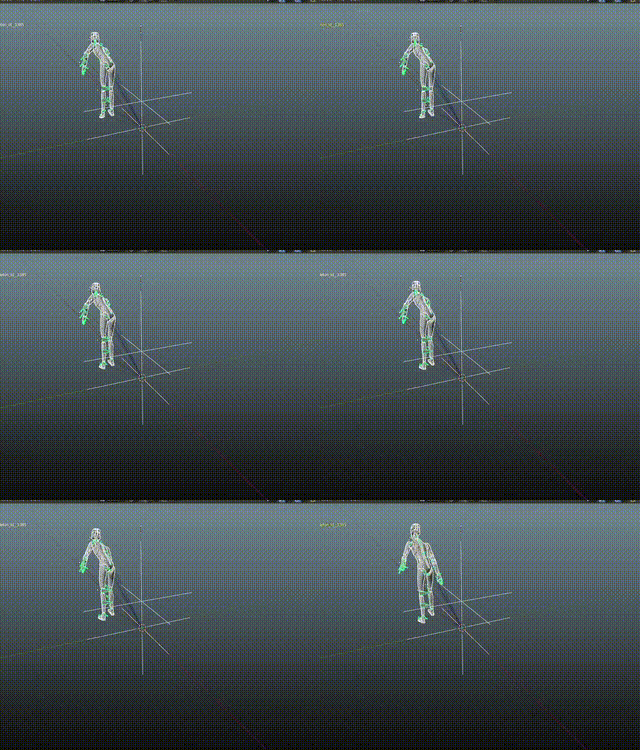
Mocap-Studio - Recording an FBX
Use Mocap-Studio to record the movement of the people inside the scene.
Table of contents
- Introduction
- Prerequisites
- Open Mocap Studio and Check for Connectivity
- Record the animation
- Rename the Recording
- Export the Recording
- View the recording in a 3D editor
Introduction
This document provides a step-by-step guide on how to use mocap studio to:
- Record an animation
- Visualize the recorded data
- Export it as an FBX file
Follow the instructions below to ensure a successful recording, visualization, and export process.
Prerequisites
- Make sure Mocap Studio is installed on a computer.
- Ensure the computer is connected to the same network as the Mocap system.
When mocap studio is not in the same local network it will fail to communicate with AR51’s mocap server.
Open Mocap Studio and Check for Connectivity
Launch Mocap Studio:
- Open the Mocap Studio application.
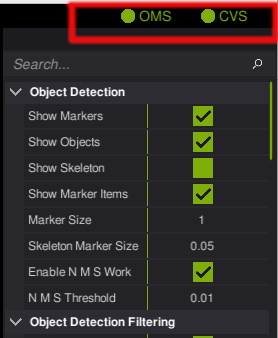
- In the upper right corner, ensure that the two indicators are green. This signals that Mocap Studio has found both the management unit (OMS) and the Mocap System (CVS) in its local network.
Record the animation
Start Recording:
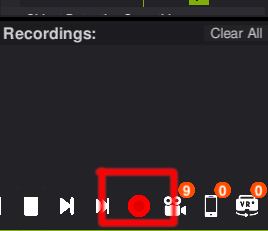
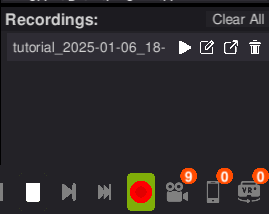
- Click on the “record” button located in the bottom right corner to begin the recording.
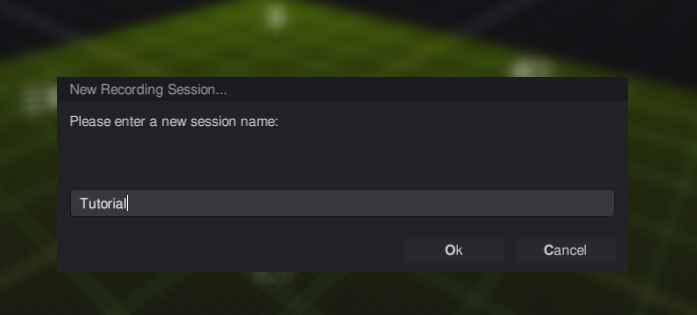
- Provide a name for the current session.
Perform Animation:
- Move into the camera’s range to make your character visible on the screen.
- You can change the view port angle by pressing “Alt” and draging with the mouse left button.
- Perform the desired animation.
Stop Recording:
Click again on the record button to stop the current recording session.
Rename the Recording
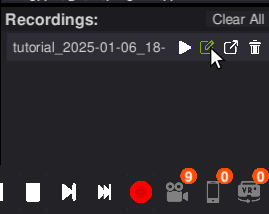
- Access the Captures List by locating the new recording file in the captures list
- To rename the capture, Click on the rename option and enter a descriptive name for the recording. For example, name it “tutorial.”
Export the Recording
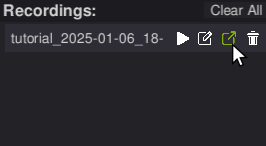
Click on the export button. Choose a folder. Choose the file format (i.e. FBX).
Click “Save” to complete the export. 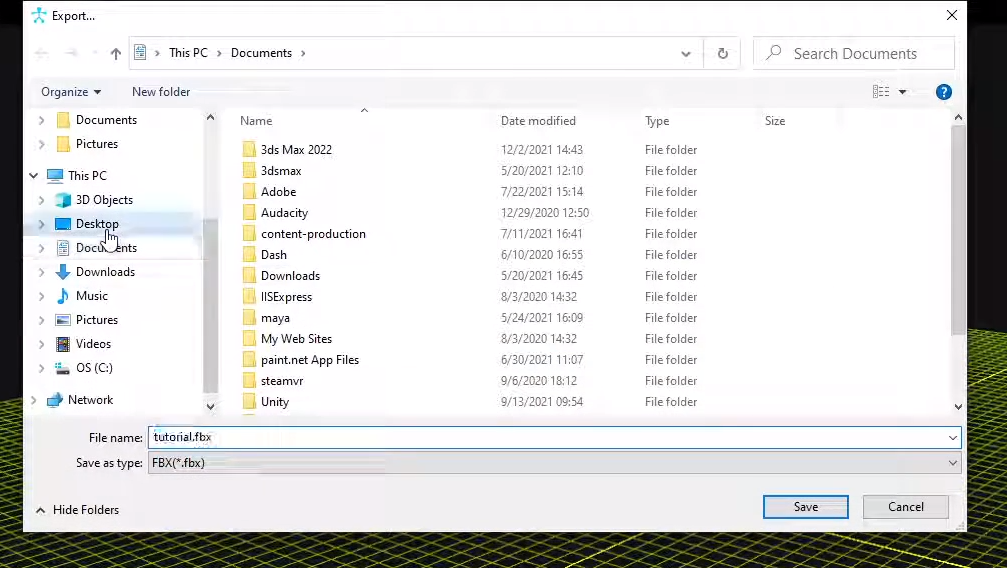
View the recording in a 3D editor
You can open the animation in a 3D program of your choice (i.e. Maya, Blender). 