AR51 Mocap Studio: Video Recording Guide
Use Mocap-Studio to record the videos on the server.
Table of contents
Introduction
This tutorial demonstrates how to record video using AR51’s Mocap Studio.
By default, AR51’s Mocap System does not store video data from the scene.
However, users have the option to enable video recording during their session.
When video recording is enabled, the raw camera footage is stored locally on AR51’s server. These recordings are valuable for debugging and troubleshooting any unexpected system behavior. If issues arise, recorded videos can help the AR51 team analyze and resolve them efficiently.
Note: The FBX file is saved locally on the machine running Mocap Studio, while recorded video files are always stored on AR51’s server.
Prerequisites
- Ensure that your system is operational.
- Ensure Mocap Studio is installed. If not, please refer to our setup guide before proceeding.
Steps to Record Video
- Launch Mocap Studio.
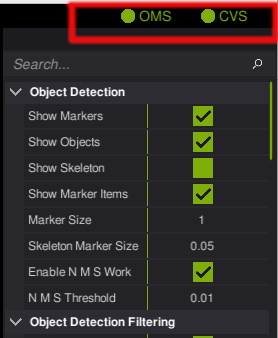
- Verify its connection to the server: Check the top-left corner for two green indicator lights.
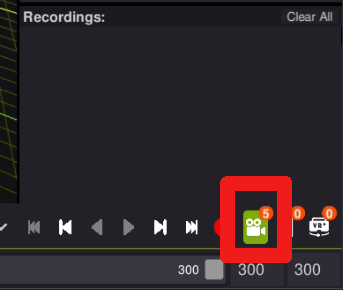
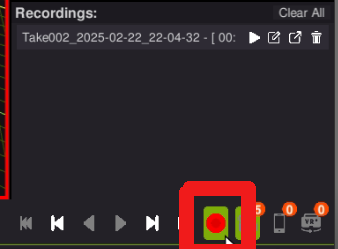
- Enable Video Recording: Before starting mocap data recording, click on the camera icon at the bottom of the interface. When activated, video recording will occur alongside mocap data.
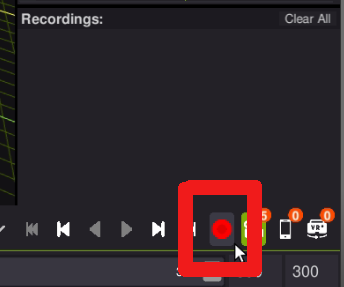
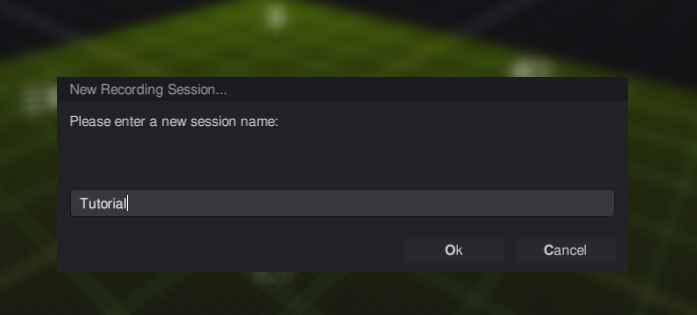
- Start Recording: Press the red record button at the bottom and enter a filename for your recording.
- Name your Recording: Provide a descriptive name for your current recording.
- Perform your desired activity: Move around and perfom your desired action you wish to record
- Stop Recording: Press the record button again to end the session.
Storage and Retrieval
To access your video recordings:
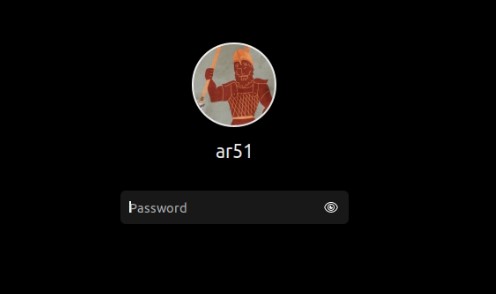
- Log in to the AR51 server.
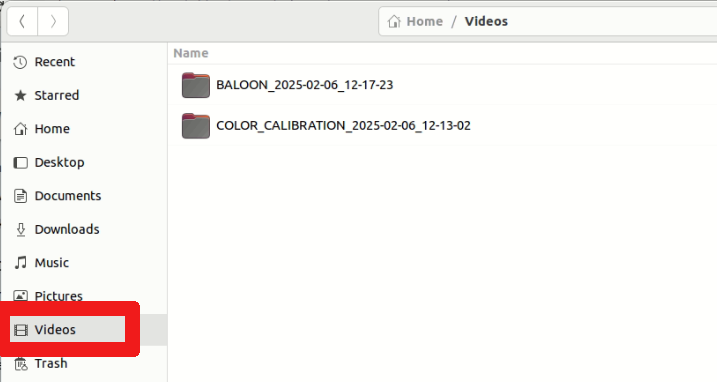
- Navigate to the home folder and open the “Videos” directory.
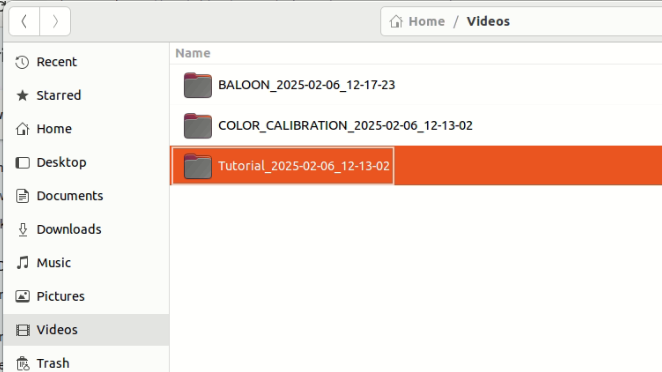
- Locate your recording. It should have the name your provided in Mocap Studio with the addition of a timestamp.
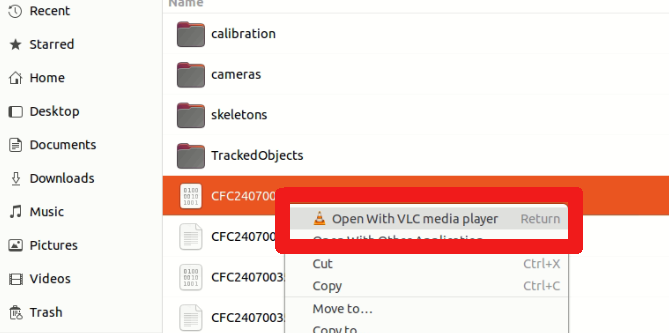
- In the recorded folder you should find .h264 videos along with the session meta data.
- If you wish to view the recorded video you can open .h264 files using a program like VNC. To do so, right click the file and select “Open With VLC”.
Sharing Recorded Videos
- Locate the most recent recording.
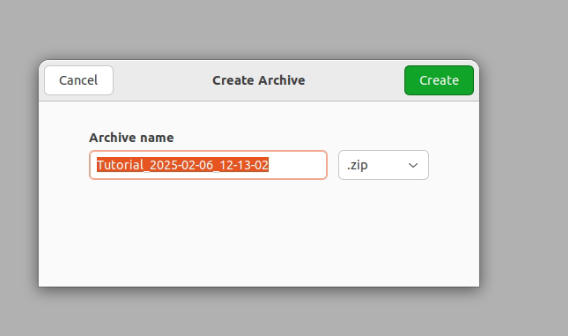
- Compress the folder.
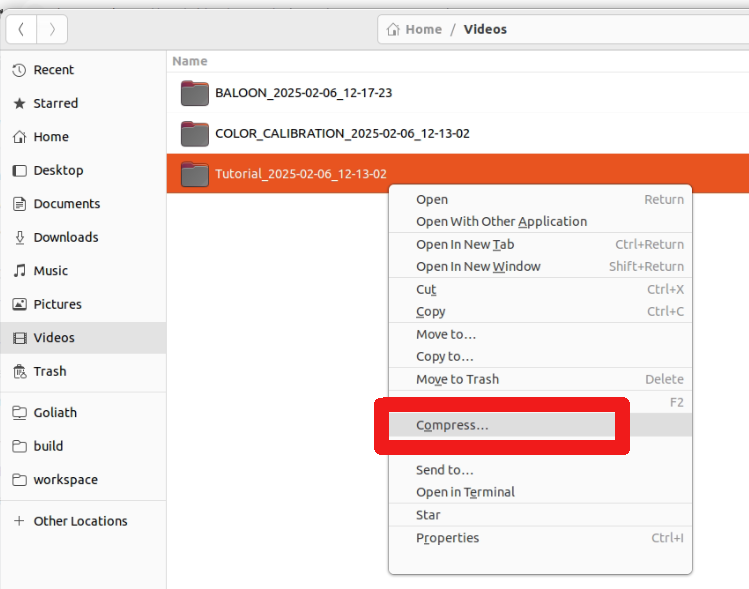
- Give the compressed file a name
- Upload it to a cloud storage platform.
- Share the link with the AR51 team for analysis and troubleshooting.
Summary
By following these steps, you can efficiently record, access, and share video data using AR51’s Mocap Studio.